Why EPDM Roof Repair Matters for Delaware Property Owners
EPDM roof repair is a straightforward process that can save you thousands of dollars compared to full replacement. When you spot a puncture, tear, or leak in your rubber roof, acting quickly prevents water damage and extends the life of your roofing system by decades.
Quick Answer: How to Repair an EPDM Roof
- Clean the damaged area thoroughly with soap and water, extending at least 12 inches beyond the damage
- Apply EPDM primer to both the roof surface and patch, waiting 5-10 minutes until tacky
- Place the patch with at least 3 inches of overlap beyond the damaged area on all sides
- Roll firmly from center outward with a seam roller to eliminate air bubbles
- Seal the edges with lap sealant after 4 hours of curing time
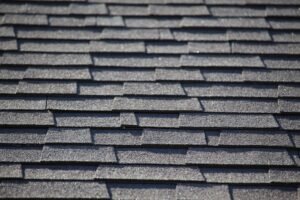
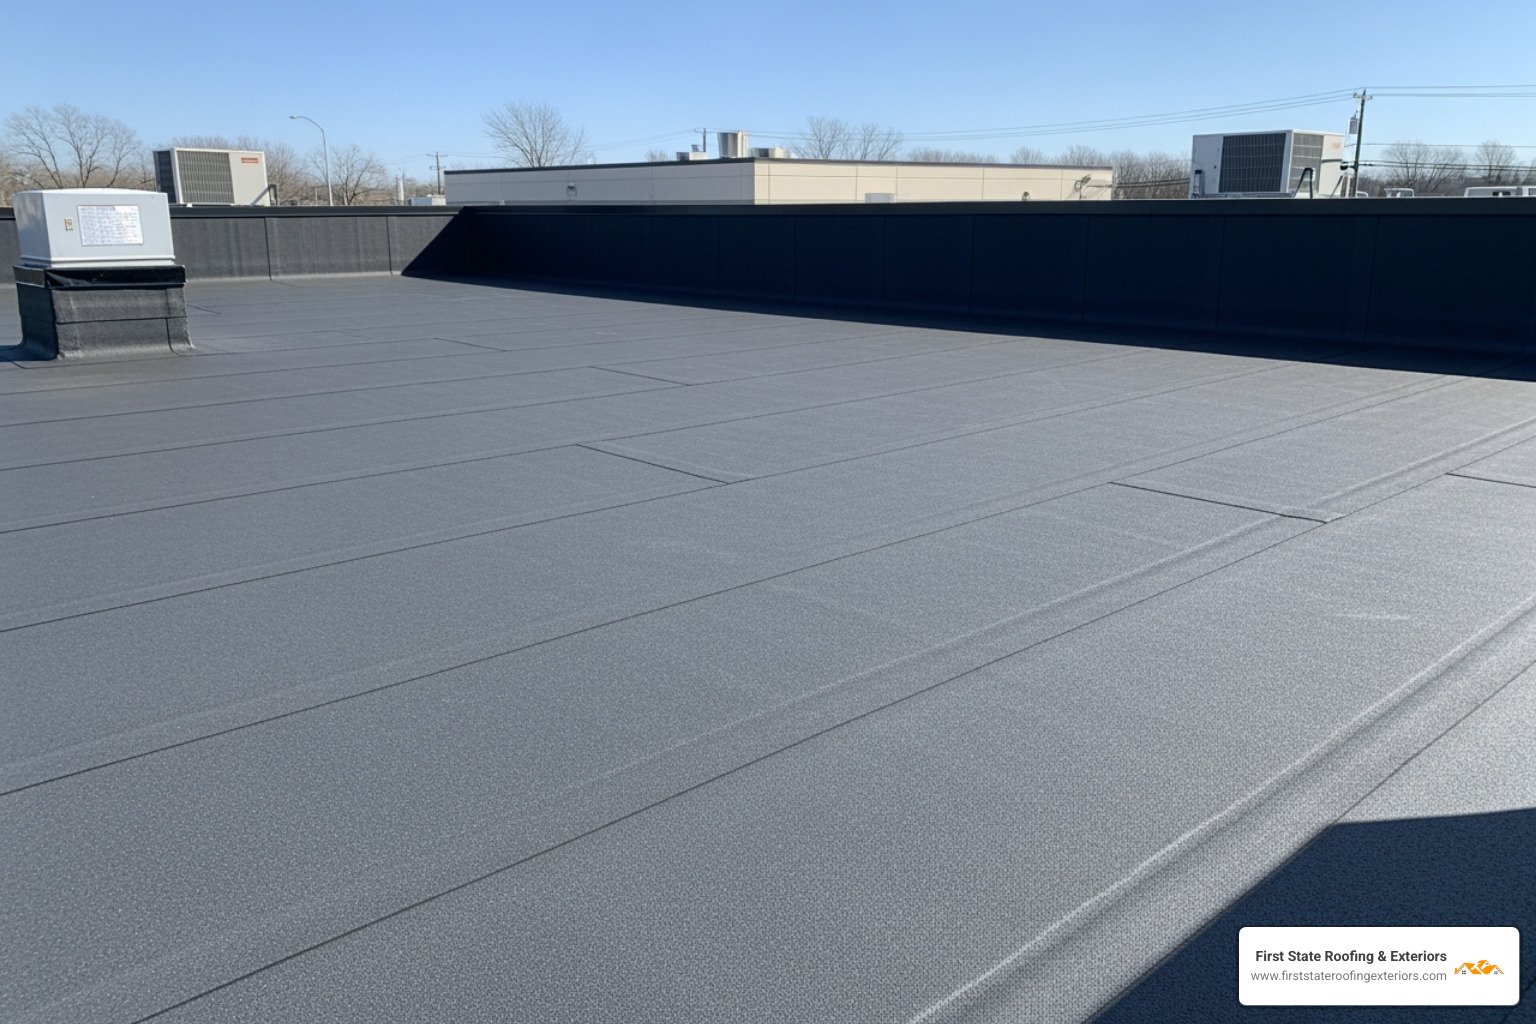
EPDM (Ethylene Propylene Diene Monomer) is a synthetic rubber membrane that’s become the go-to choice for flat and low-slope roofs across Delaware. With proper installation, these roofs can last 50 years or more. The material’s flexibility, UV resistance, and ability to withstand temperature swings make it ideal for our coastal climate.
But even the toughest roofs develop problems. Common issues include punctures from dropped tools during HVAC maintenance, seam separation from thermal expansion, and membrane shrinkage over time. The good news? Most EPDM damage is repairable—and repairs are surprisingly affordable when you catch them early.
A small repair kit costs as little as $25, while ignoring that leak could lead to a $500-per-square-foot replacement. That’s why understanding your repair options matters, whether you’re tackling a DIY patch or deciding when to call the pros at First State Roofing & Exteriors.
I’m Richard McCain, owner of First State Roofing & Exteriors, and I’ve spent over 20 years working with EPDM systems throughout Delaware. From emergency leak repairs to full restoration projects, I’ve seen how proper EPDM roof repair techniques can add decades to a roof’s lifespan—and how cutting corners leads to costly callbacks.
If you’re dealing with an active leak right now, don’t wait. First State Roofing & Exteriors gives free estimates; call (302) 222-4065 to schedule a free inspection. We’re available 24/7 for emergency repairs and always provide transparent, honest assessments.

Quick look at EPDM roof repair:
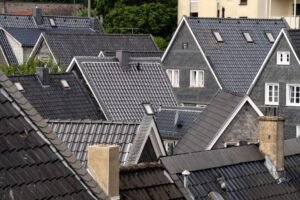
Understanding EPDM Roofing and Common Damage
Ethylene Propylene Diene Monomer, or EPDM, is essentially a high-performance synthetic rubber. In the roofing world, it is prized for its incredible durability and moisture-barrier properties. Most residential and commercial flat roofs in Delaware utilize EPDM sheets ranging from 45 to 60 mils in thickness. To put that in perspective, a 60-mil membrane is about the thickness of a quarter, yet it can withstand decades of Delaware’s sun, rain, and snow.
One of the unique components of EPDM is carbon black material. This additive is what gives the roof its black color and its superior UV resistance. Over time, however, this material can migrate to the surface, creating a fine black dust that must be addressed during any EPDM roof repair.
Despite its 50-year potential, EPDM isn’t invincible. We often see damage caused by external forces. For instance, HVAC technicians might accidentally drop a sharp tool, or a heavy tree branch might fall during a storm in Dover or Milford. Because EPDM is a single-ply system, a single puncture can lead to significant interior water damage if not caught early.

| Feature | EPDM | TPO | PVC |
|---|---|---|---|
| Lifespan | 50+ Years | 20-30 Years | 20-30 Years |
| Repair Ease | High | Moderate | Moderate |
| UV Resistance | Excellent | Good | Good |
| Chemical Resistance | Low (Oils/Grease) | Moderate | High |
Common Causes for EPDM Roof Repair
Why do these durable roofs fail? In our experience serving Delaware property owners, the culprits usually fall into three categories:
- Mechanical Damage: This includes punctures from foot traffic, dropped tools, or wind-blown debris. EPDM has high tear strength, but a sharp object under pressure will penetrate it.
- Seam Failures: Statistics show that EPDM seams often develop defects within the first three years after installation if they weren’t bonded perfectly. Thermal expansion and contraction (the roof “breathing” as temperatures change) put immense stress on these joints.
- Shrinkage: As the membrane ages, it can naturally pull away from the edges or “parapet” walls. This tension can cause the membrane to tear or pull flashing away from the building.
Check out more on Common EPDM Rubber Roof Repairs to see how these issues manifest on different structures.
Identifying Seam and Flashing Failures
Seams and flashings are the “weak links” of any roofing system. On an EPDM roof, flashings are often made of uncured neoprene. While this material is flexible during installation, it can become brittle and “craze-crack” over time due to UV exposure.
In ballasted systems—where 10-12 lbs per square foot of stone holds the membrane down—identifying these failures is harder because the damage is hidden under rocks. If you notice “scour” (areas where the wind has moved the rocks) or sediment rings, it’s a sign that water is ponding and potentially stressing the seams. For a deeper dive into finding these hidden issues, see our Roof Leak Repair Complete Guide.
Essential Tools and Materials for EPDM Roof Repair
To perform a successful EPDM roof repair, you cannot simply grab a tube of standard caulk from a big-box store. EPDM requires specific chemical bonding agents to create a watertight seal.
Here is your essential checklist for a professional-grade repair:
- EPDM Membrane: A piece of 60-mil cured EPDM rubber for the patch.
- Splice Primer: This is non-negotiable. It cleans and prepares the rubber for the adhesive.
- Splice Adhesive: The “glue” that creates a chemical bond between the old roof and the new patch.
- Lap Sealant: A thick bead applied to the edges of the patch to prevent water from “wicking” into the seam.
- Weathered Membrane Cleaner: Necessary to remove the carbon black dust and oxidation.
- Tools: A soft-bristled brush (no wire bristles!), heavy-duty scissors, and a weighted seam roller.
When working on any roof, always follow roofing safety guidelines. This includes using a proper OSHA-rated safety harness and ensuring your ladder is secured. If you aren’t comfortable with heights or the chemical application process, our Roof Repair Services are here to help.
Adhesives and Sealants to Avoid
CRITICAL WARNING: Never use asphalt-based products (like “wet or dry” roof cement or flashing cement) on an EPDM roof. EPDM is a synthetic rubber, and the solvents in asphalt will literally melt the membrane, turning it into a gooey, useless mess.
We frequently see DIY repairs where someone tried to use a standard silicone or petroleum-based sealant. These materials will not bond to EPDM and will eventually peel off, often making the original leak worse. For more on what to do during a crisis, read our Emergency Roof Repair Complete Guide.
Step-by-Step Guide to EPDM Roof Repair
If you’ve decided to tackle a minor puncture yourself, following a strict protocol is the only way to ensure the repair holds.
- Clean the Area: The cleaning area should extend at least one foot beyond the damage in all directions. Use warm soapy water (we recommend Spic and Span) and a soft brush.
- Remove Carbon Dust: After the soap wash, use a weathered membrane cleaner or acetone. You’ll know it’s clean when your rag stops coming up black.
- Cut the Patch: Your patch should be rounded at the corners to prevent peeling. It must extend at least 3 inches (and ideally 6 inches for larger tears) beyond the damage in every direction.
- Apply Primer: Apply a thin, even coat of splice primer to both the roof and the back of the patch. Wait 5-10 minutes. The primer should be “tacky” (it should stick to your finger but not string) before you proceed.
- Install the Patch: Place the patch carefully. Once it touches the primed surface, it is stuck!
- Roll the Patch: Use a seam roller to apply heavy pressure, starting from the center and moving outward. This expels trapped air and ensures the chemical bond is complete.
- Seal the Edges: Wait at least 4 hours (or up to 24 hours if the weather is dry) and then apply a 3/8-inch bead of lap sealant centered over the edge of the patch.
For a visual walkthrough, refer to this How to Patch an EPDM Rubber Roof guide.
Preparing the Membrane Surface
Preparation is 90% of the work in EPDM roof repair. The “carbon black” dust that migrates out of the membrane creates a barrier that prevents adhesives from sticking. If you skip the deep-cleaning step, your patch will likely fail within a year.
In Delaware’s humid climate, ensure the roof is 100% dry before applying primer. Even a microscopic layer of moisture can cause the adhesive to “gas off,” creating bubbles under your patch. If you’re unsure if your surface is ready, consult with Roofing Contractors Delaware experts.
Testing Your EPDM Roof Repair
How do you know if you succeeded? Once the lap sealant has skinned over (usually 24 hours), you can perform a water spray test. Use a garden hose to gently flow water over the patch area while someone checks the interior for leaks.
A successful repair should look integrated with the roof. If you see edges lifting or bubbles forming, the bond failed. For residents in coastal areas, check out our specific advice on Flat Roof Repairs Lewes for handling high-wind environments.
Long-Term Maintenance and Professional Restoration
An EPDM roof is an investment, and like any investment, it requires maintenance. One of the best ways to extend the life of an aging EPDM roof is through the application of Liquid Butyl Rubber coatings.
Liquid Butyl Rubber can extend a roof’s life by another 18 to 20 years. It results in a 20-mil film thickness in just one coat and offers a staggering 500% elongation. This means as the Delaware sun beats down on your building, the coating stretches and contracts without cracking.
We recommend applying UV-protective coatings every 5 to 7 years. This is especially important for Commercial Roofs Services, where the roof surface area is large and replacement costs are high.
When to Call a Professional Roofer
While a $25 DIY kit is great for a pinhole, there are times when you must call in the experts. You should seek professional EPDM roof repair if you see:
- Widespread Cracking: This indicates the membrane has reached the end of its UV-stability life.
- Large-Scale Shrinkage: If the rubber is pulling away from the walls, it requires mechanical fasteners and specialized “cover strips” that DIYers rarely have access to.
- Multiple Failed Patches: If your repairs keep leaking, there may be water trapped under the membrane, rotting the wood deck below.
- Saturated Insulation: If the roof feels “spongy” when you walk on it, the insulation is likely wet and needs replacement.
When in doubt, search for a Roofer Near Me to get a professional assessment before a small leak becomes a structural disaster.
Frequently Asked Questions about EPDM Roof Repair
How long does an EPDM repair last?
A professionally applied EPDM patch using cured membrane and splice adhesive can last as long as the roof itself—potentially 20 to 25 years. If you use a restoration coating like Liquid Butyl Rubber, you can add nearly two decades to the entire system’s lifespan. The chemical cross-linking ensures the repair becomes a permanent part of the roof. For more on industrial-scale repairs, see our Industrial Roof Repair Near Me Guide.
Can I use standard roof cement on EPDM?
Absolutely not. Standard roof cement is asphalt-based. Asphalt and EPDM are chemically incompatible. The oils in the asphalt will break down the rubber, causing it to swell, soften, and eventually dissolve. Always use specialized EPDM sealants and adhesives. You can find more details on compatible materials on our EPDM Roofs page.
What is the cost of a DIY EPDM repair?
A basic DIY EPDM roof repair kit costs between $25 and $50. However, if the damage is extensive, a professional repair might cost a few hundred dollars. This is a bargain compared to the $500 per square foot (or roughly $5.00 to $10.00 per square foot depending on the system) for a full replacement. Prompt repairs are the single best way to save money on roofing. Residents in Seaford can find local pricing info here: EPDM Roofs Seaford.
Conclusion
At First State Roofing & Exteriors, we understand that your roof is the first line of defense for your home or business. As a family-owned Delaware company, we pride ourselves on being the local experts you can trust for everything from a minor EPDM roof repair to a full commercial installation.
We serve Dover, Milford, and the surrounding Delaware communities with a commitment to integrity, transparency, and 24/7 availability for those middle-of-the-night emergencies. Don’t let a small puncture turn into a major headache.
Ready to protect your property? First State Roofing & Exteriors gives free estimates. Give yourself peace of mind and call (302) 222-4065 for a free inspection today.
Call us now at (302) 222-4065 – we’re here to help you keep your roof in tip-top shape for years to come!