Why Proper Roofing Installation Matters for Delaware Homeowners
A proper roofing installation is one of the most critical investments you can make in your home, protecting it from the elements and enhancing its value. For local guidance from a trusted Delaware roofing contractor, start by understanding the roofing installation process so you can confidently oversee the project and make informed decisions about your home’s protection.
Essential steps for successful roofing installation:
- Safety preparation – Fall protection equipment and proper weather conditions
- Deck preparation – Remove old materials and repair damaged sheathing
- Protective layers – Install drip edge, underlayment, and flashing
- Shingle application – Proper nailing patterns and exposure guidelines
- Finishing touches – Ridge caps, ventilation, and final inspection
Whether you’re dealing with storm damage, aging materials, or planning an upgrade for energy efficiency, knowing what to expect from professional roofing services helps ensure quality results. The typical residential roof installation takes 1-3 days, depending on size and complexity.
Key considerations include:
- Local building codes and permits
- Material selection (asphalt, metal, or specialty shingles)
- Weather conditions and seasonal timing
- Proper ventilation systems
- Cleanup and final inspection protocols
I’m Richard McCain, owner of First State Roofing & Exteriors with over 20 years of hands-on experience in roofing installation across Delaware. My team and I have completed thousands of roofing installation projects, from simple repairs to complete system replacements, always focusing on quality craftsmanship and transparent communication throughout the process.
For a professional assessment and free estimate, call us at (302) 222-4065 to schedule your free inspection.

Pre-Installation: Planning, Safety, and Preparation
Before any roofing installation begins, success depends on careful planning, safety protocols, and thorough preparation. At First State Roofing & Exteriors, we know that taking time during this critical stage prevents headaches later and ensures your project runs smoothly.

Essential Tools and Materials
Having the right tools and materials is non-negotiable for a professional job. Our crews are equipped with pneumatic roofing nailers for consistent nail depth, pry bars for tear-off, utility knives for clean cuts, and chalk lines for straight shingle courses. We use only quality materials, from durable architectural shingles and synthetic underlayment to the proper flashing, drip edge, and clear paintable solvent caulk for sealing.
Critical Safety Precautions
Roofing is inherently dangerous, which is why we never compromise on safety.
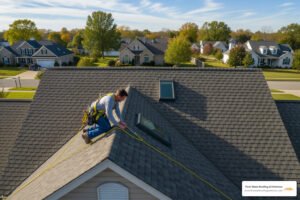
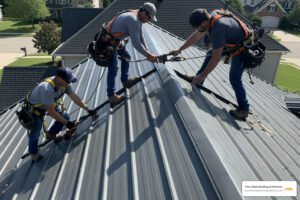
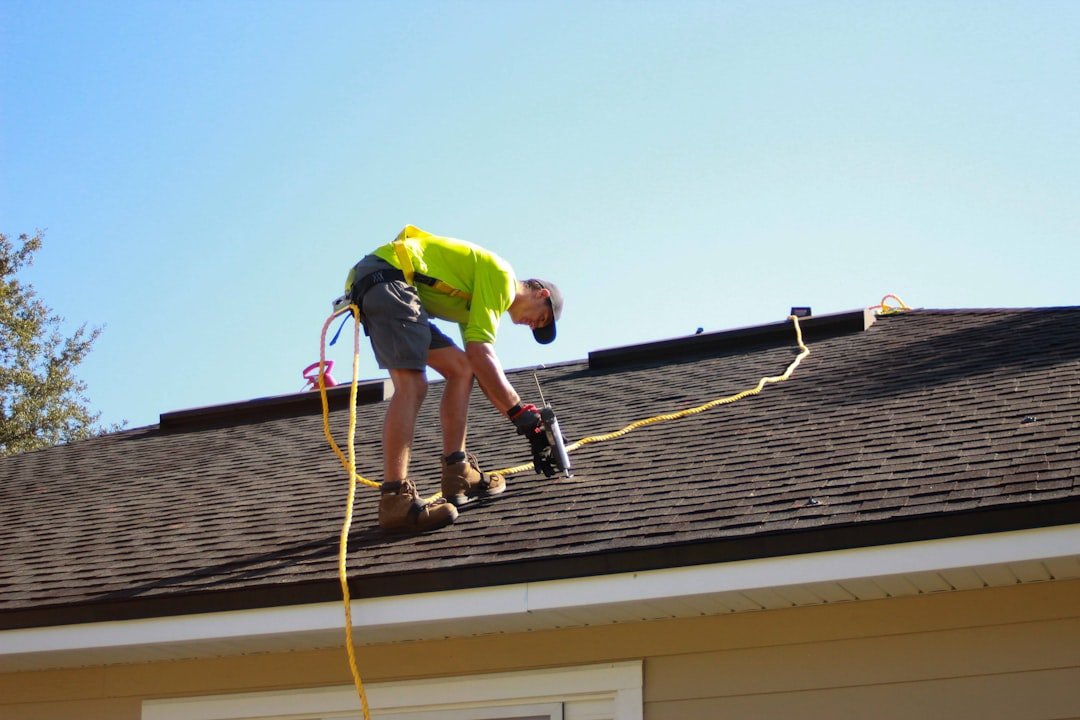
- Fall Protection: A complete fall protection kit with a harness, rope, and secure anchor is mandatory for our crews.
- Ladder Safety: Ladders must extend at least three feet above the roofline and be properly secured.
- Weather: We work in temperatures between 50 and 80 degrees Fahrenheit. Cold can make shingles brittle, while extreme heat makes them too pliable. We never work in wet or icy conditions.
- Steep Slopes: Roofs with a pitch over 6/12 require special techniques and safety measures, and are best left to professionals.
Understanding Costs, Timelines, and Local Codes
Transparency helps you make informed decisions. Repair costs for minor issues typically range from $350 to $1,000, while full replacement costs vary by roof size, complexity, and materials. We provide detailed, free estimates with no surprise charges. Most residential installations take 1 to 3 days. We strictly follow manufacturer specifications to protect your warranty and handle all local Delaware building permits and inspections to ensure compliance.
For a comprehensive evaluation and expert advice on your roofing needs, call us at (302) 222-4065 to schedule your free inspection.
The Core Roofing Installation Process: From Deck to Shingles
Once planning is complete, we move into the heart of the roofing installation process, systematically building your new roof layer by layer. Each component contributes to the integrity and longevity of your home’s protection against Delaware’s weather.

Preparing the Roof Deck for New Shingles
A sound roof deck is the foundation of your roofing system. The first step is a full tear-off of all old materials down to the bare wood sheathing, while protecting your landscaping with tarps. We then thoroughly inspect the decking for wood rot or damage, replacing any compromised sections to ensure a solid, even surface. Finally, we sweep the deck clean and remove or pound flat any old nails to prevent punctures in the new materials.
Installing Protective Layers: Underlayment and Flashing
These layers provide a critical secondary barrier against water.
- Drip Edge: We install metal drip edge along all roof perimeters to direct water away from the fascia. The installation sequence—under the protective membrane at the eaves and over it on the rakes—is crucial for proper water shedding.
- Ice and Water Shield: This self-adhering membrane is applied to the most vulnerable areas, like eaves and valleys, to prevent leaks from ice dams or wind-driven rain.
- Synthetic Underlayment: We roll out high-quality synthetic underlayment, which offers superior tear resistance and moisture protection compared to traditional felt paper. We ensure proper overlapping for a continuous, water-resistant barrier.
- Valley Flashing: For superior performance, we install open metal valleys. A wide metal liner is centered in the valley, and shingles are nailed back from a chalk line to keep fasteners out of the main water channel. You can watch a how-to video on flashing to see these techniques.
A Guide to Proper Shingle Installation
This phase requires precision to ensure performance and validate your warranty. We begin with starter shingles along the eaves and rakes to improve wind resistance. Using chalk lines, we establish a straight layout for the field shingles. The nailing pattern is critical—typically four nails per shingle, or six for steep slopes or high-wind areas. Nails must be driven flush with the shingle surface, not overdriven or underdriven, and placed correctly in the manufacturer-specified nailing zone. We follow exposure guidelines and stagger all shingle seams to create a strong, resilient roof.
Advanced Techniques and Material Considerations
A successful roofing installation is defined by how well the complex areas are handled. These finishing details often determine whether a roof lasts 15 years or 30.

Finishing the Job: Hips, Ridges, and Vents
The peaks and ridges of your roof face the most extreme weather and demand special attention.
- Hip and Ridge Caps: These specialized shingles are installed to straddle the peak, creating a weatherproof seal. We use longer nails for secure attachment and seal every exposed nail head with asphalt cement.
- Vent and Pipe Flashing: Every penetration is a potential leak point. We use pre-formed boots or custom metal flashing to create watertight seals, carefully cutting shingles to fit snugly around them.
- Step Flashing: Along walls and chimneys, we install interwoven pieces of metal flashing with each course of shingles. This creates a durable, continuous water barrier that allows for independent movement between the roof and the structure.
Adapting to Different Shingles and Roof Slopes
The type of material and the pitch of your roof influence our installation methods.
- 3-Tab vs. Laminate Shingles: Traditional 3-tab shingles and thicker, dimensional laminate (architectural) shingles have different nailing requirements. We follow manufacturer guidelines precisely for each type.
- Low-Slope Roofs: Roofs with a pitch between 2/12 and 4/12 require extra protective layers, like additional ice and water shield, because water drains more slowly.
- Steep-Slope Roofs: Roofs with a pitch of 8/12 or greater require specialized safety equipment and modified installation methods, including using more fasteners per shingle.
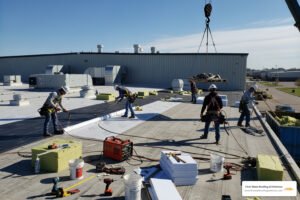
- Metal Roofing: We also specialize in high quality metal roofing installations, which require entirely different techniques for exceptional durability and energy efficiency.
The Importance of Attic Ventilation
Proper attic ventilation is as important as the shingles for a long-lasting roof. A balanced system of intake vents (at the soffits) and exhaust vents (at the ridge) creates continuous airflow. This prevents heat buildup in the summer, which can cook shingles from below, and moisture accumulation in the winter, which can lead to mold and rot. Proper ventilation extends shingle lifespan, reduces energy costs, and is often required to maintain your manufacturer’s warranty.
Avoiding Pitfalls and Ensuring a Professional Finish
The difference between a good roofing installation and a great one is attention to detail and avoiding common mistakes. At First State Roofing & Exteriors, we focus on quality control to prevent issues that could compromise your investment.

Common Roofing Installation Mistakes to Avoid
We train our team to prevent these frequent but damaging errors:
- Improper Nailing: This is the leading cause of roof failure. Overdriven nails cut through shingles, underdriven nails create puncture points, and misplaced nails outside the nailing zone compromise wind resistance.
- Incorrect Flashing: Flashing is the primary defense against leaks at transitions like chimneys, vents, and valleys. Missing or improperly installed flashing is a major red flag.
- Inadequate Shingle Overhang: Shingles must extend just the right amount over the drip edge (ideally 6-10mm) to ensure water drips clear of the fascia boards.
- Poor Deck Preparation: Installing new shingles over rotted wood, uneven surfaces, or old nails creates weak spots and will lead to premature failure.
- Blocking Attic Ventilation: Obstructing intake or exhaust vents traps heat and moisture, which can void your shingle warranty and drastically shorten your roof’s lifespan.
Post-Installation Cleanup and Final Inspection
Our commitment doesn’t end when the last shingle is on. We believe a meticulous cleanup and final inspection are just as important as the installation itself. Our process includes protecting your landscaping with tarps, performing a magnetic sweep of the entire property to collect stray nails, and hauling away all debris. We then conduct a final walkthrough with you to answer questions and ensure you are completely satisfied. As a final touch, we seal any necessary exposed nail heads with a quality product like clear paintable solvent caulk.
When you’re ready for a roofer who focuses on the details, call us at (302) 222-4065 to schedule your free inspection and estimate.
Frequently Asked Questions about Roof Installation
Homeowners considering a roofing installation often have questions about the process. With two decades of experience, we’re happy to share answers to the most common concerns we hear from Delaware homeowners.
How do I know if I need a roof repair or a full replacement?
A professional inspection is the best way to get an accurate assessment. Generally, you’re looking at a repair for isolated issues like a few missing shingles or a small leak. A full replacement becomes necessary for widespread problems like curling or cracking shingles across the roof surface. Age is also a key factor; if your asphalt shingle roof is over 20 years old and showing wear, replacement is usually the most cost-effective long-term solution.
How long does a new roof installation take?
For a typical residential home, our crew can complete a full roofing installation in 1 to 3 days. This timeline can be affected by the roof’s size and complexity, the materials being installed, and weather conditions. We always provide a realistic timeline during our initial consultation.
Can you install a new roof over old shingles?
While some local codes permit installing one layer of new shingles over an existing layer (a “re-roof”), we strongly advise against it. A full tear-off is the best practice because it allows us to inspect the roof deck for hidden damage, avoids adding excessive weight to your home’s structure, and ensures your new shingle manufacturer’s warranty remains valid.
Your Partner for a Perfect Roof Installation
The difference between a roof that lasts 15 years and one that protects your home for 25 or more often comes down to the expertise and attention to detail during the roofing installation. Proper nailing, correct flashing, balanced ventilation, and quality materials all work together to create a system that performs beautifully through Delaware’s changing seasons.
At First State Roofing & Exteriors, we’ve built our reputation on transparency and quality craftsmanship. We believe in doing things right the first time, from preparing the roof deck to the final, meticulous cleanup. Our commitment is to provide you with a roof that is not just a home improvement project, but a long-term investment in your property’s value and your family’s safety.
When you choose us for your Roof Replacement, you’re getting partners who care about your home’s long-term protection. Ready to get started? Call the local experts at First State Roofing & Exteriors today at (302) 222-4065 to schedule your free inspection and estimate.