The Drip That Demands Action
Roof leak repair is most effective when it begins the moment you see the first sign of trouble. A small drip from your ceiling is not just a nuisance; it is a clear warning sign of a potentially serious problem. Ignoring a roof leak leads to predictable, well-documented consequences: rotted wood, mold growth, damaged insulation, and compromised structural integrity. For homeowners, understanding the basics of roof leak repair is crucial for protecting your property and budget. At First State Roofing & Exteriors, a full-service residential roofing contractor, we’ve seen how quickly a small issue can escalate, which is why this guide explains how to identify a leak, apply temporary protection, and decide when to call a professional.
Quick-Fix Essentials for Roof Leaks:
- Locate the Source: Check your attic for water trails and inspect exterior roof penetrations like vents and chimneys.
- Apply Temporary Protection: Use a tarp, roofing tape, or sealant to stop immediate water entry.
- Contain Interior Damage: Place buckets under drips and remove any standing water.
- Call a Professional: For extensive damage, multiple leaks, or persistent issues, professional help is necessary.

Decoding the Drip: Common Causes and Signs of a Roof Leak
Water intrusion from a roof leak follows consistent, observable patterns that homeowners can learn to recognize quickly. A leaking roof does more than drip into living spaces; it accelerates wood decay, undermines roof framing, and creates sustained moisture levels that support active mold growth. Detecting the issue early and understanding what is causing it directly reduces the total repair cost and the area of damage.
How to Spot the Telltale Signs
The first step in any effective roof leak repair is recognizing the problem. While some leaks are obvious, others are more subtle. Here are the most common signs:
- Water Stains on Walls and Ceilings: Look for brownish or yellowish spots, discoloration, or streaks. If they appear after rain, your roof is the likely culprit.
- Bubbling or Peeling Paint: Water seeping into your walls can cause paint or wallpaper to blister, bubble, or peel.
- Musty Odors: A persistent musty smell, especially in your attic, often indicates mold or mildew from a leak. Mold can grow within 24–48 hours of water exposure.
- Visible Drips: The most undeniable sign. Place buckets to catch the water and prevent further damage.
- Granules in Gutters: For asphalt shingle roofs, an excessive amount of granules in your gutters is a red flag for an aging or damaged roof.
- Damaged Shingles (from the Ground): Use binoculars to look for missing, cracked, or curled shingles. Also, check for any sagging areas on your roof, which can indicate serious structural damage.

Tracing the Source: A Homeowner’s Investigation
Finding the exact source of a roof leak is often more complex than finding the indoor stain, because water typically travels along framing or sheathing before becoming visible. The visible stain indoors is rarely directly below the actual leak.
Here’s how to investigate:
- Attic Inspection: This is the best place to start. With a flashlight, look for water stains, black marks (mold), or wet spots on the roof decking, rafters, or insulation. Trace water trails upwards to find the origin.
- The Water Hose Test (with a Helper): If the leak isn’t obvious, have one person in the attic with a flashlight while another person on the roof systematically sprays sections with a garden hose. Start at the lowest point of the roof and work your way up. When the person inside sees a drip, you’ve found the general area.
- Checking Roof Penetrations: Most roof leaks occur around penetrations. Check these areas carefully:
- Vents: Plumbing, attic, and exhaust vents. Look for cracked or loose flashing.
- Chimneys: Check for cracked mortar, deteriorated flashing, or gaps.
- Skylights: Inspect the flashing and glass seal for any cracks or gaps.
- Valleys: These V-shaped channels can be prone to damage and debris buildup.
- Roof Edges and Gables: High winds can lift shingles or damage flashing along the edges.
By systematically working through these steps, you can often pinpoint the source of your roof leak repair challenge. For a more comprehensive leak detection framework, many homeowners and pros reference the detailed guidance from GAF on identifying and addressing roof leaks.
First Aid for Your Roof: Temporary DIY Fixes
When a roof leak strikes, especially during a storm, quick action can prevent extensive damage. These temporary fixes are designed to stop immediate water intrusion until a professional can perform a permanent roof leak repair.
Essential Tools for Your Emergency Kit
Be prepared by having a basic kit on hand:
- Heavy-duty Tarp
- 2x4s or weights to secure the tarp
- Roofing Cement or Sealant
- Waterproof Roofing Tape
- Utility Knife
- Hammer and Roofing Nails
- Pry Bar
- Safety Gloves and Goggles
- Buckets and Towels
Step-by-Step Guide to a Temporary Roof Leak Repair
Safety First: Never work on a roof during a storm, high winds, or if you’re uncomfortable with heights.
- Tarp Application: For large leaks, a tarp is your best bet.
- Identify the leak’s general area.
- Unroll a heavy-duty tarp over the damaged section, ensuring it extends several feet beyond the leak on all sides.
- Secure the tarp by wrapping the edges around 2x4s and weighing them down, or by nailing it down and sealing the nail heads with roofing cement. For more detailed guidance, you can find various DIY solutions online.

-
Applying Roofing Cement or Tape: For smaller cracks or holes:
- Clean and dry the area thoroughly.
- Apply a generous bead of roofing cement over the crack or under a loose shingle, spreading it evenly.
- Alternatively, apply waterproof roofing tape firmly over the damaged spot.
-
Interior Water Containment: Manage water inside to minimize damage:
- Place buckets under drips.
- Use old towels to absorb any splashes.
- If a ceiling is bulging with water, carefully puncture the center with a screwdriver to allow it to drain into a bucket. This prevents a larger, more damaging collapse.
These temporary fixes are crucial for immediate damage control but are not a substitute for a professional, long-term repair.
DIY vs. Pro: Knowing When to Call for Roof Leak Repair
The most reliable roof leak repairs combine accurate diagnosis, proper materials, and safe installation practices. While many homeowners can handle short-term patches, long-term repairs require training, tools, and familiarity with building codes. Misjudging the scope of a leak often results in hidden moisture, repeated failures, and higher cumulative repair costs.
When a DIY Fix Isn’t Enough
While temporary patches can save the day in an emergency, they are not a substitute for a professional, long-term solution. Here’s when it’s definitely time to put down the tools and call us:
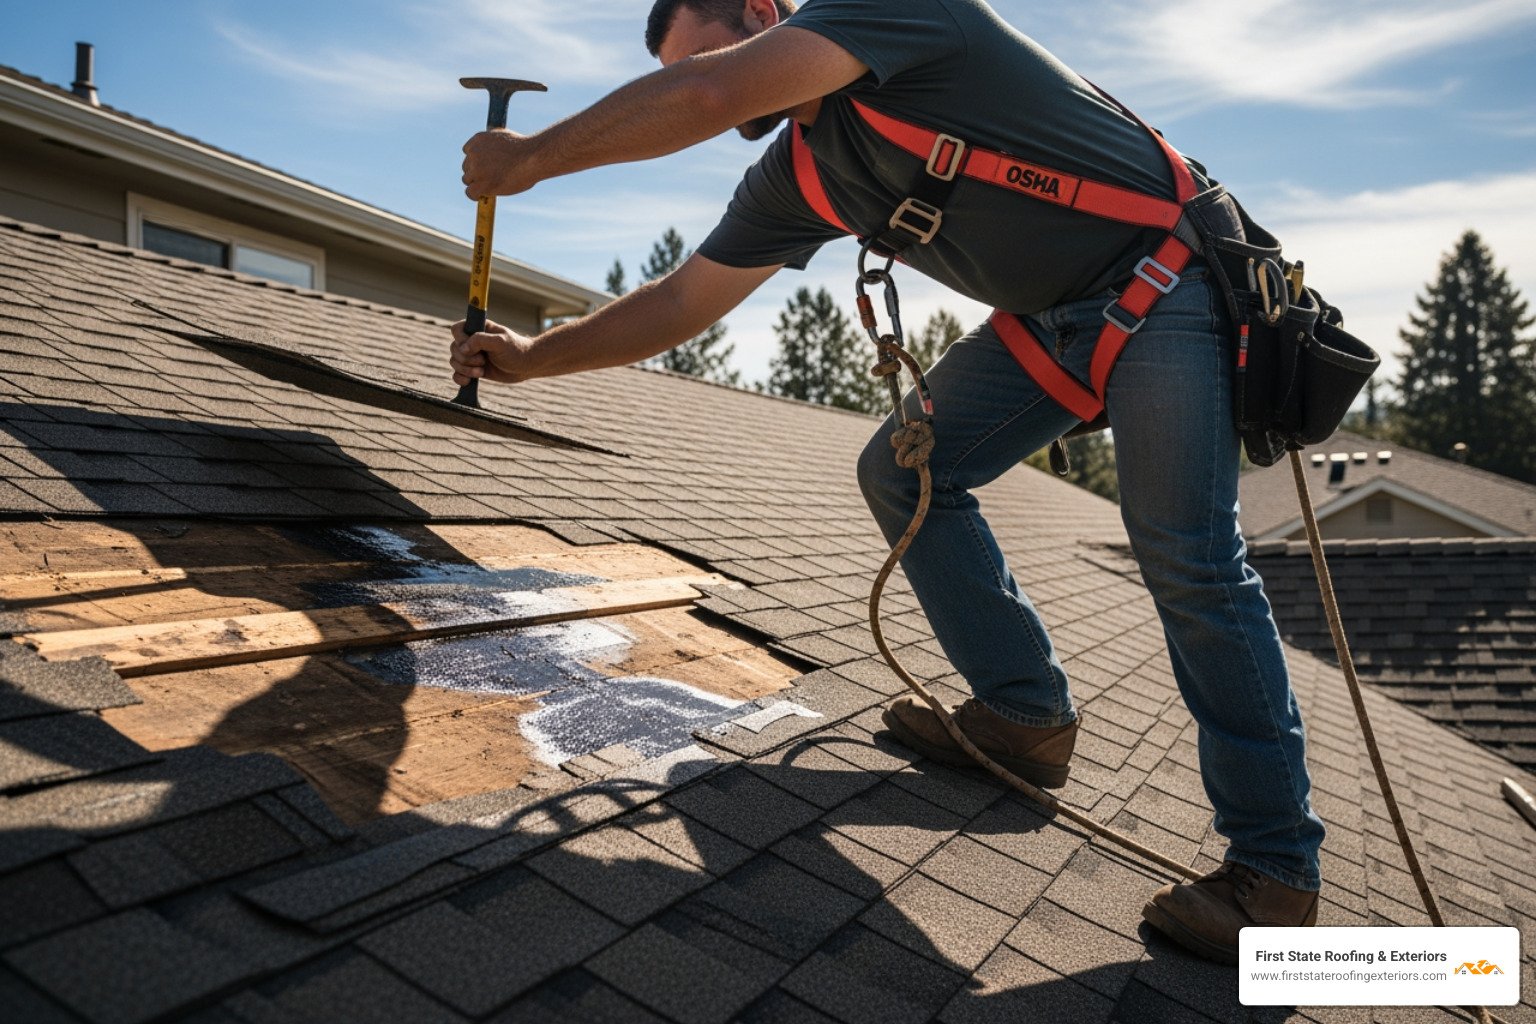
- Safety Concerns: Roofing work is inherently dangerous. If your roof is steep, high, wet, or you’re uncomfortable on a ladder, please don’t risk it. Falls from roofs are a leading cause of serious injury. Our roofers are trained professionals equipped with OSHA-required safety harnesses and equipment.
- Extensive or Multiple Leaks: If you have more than one leak, or if the leak covers a large area, it’s a sign of a more systemic problem that needs a professional assessment.
- Sagging Roof Deck: A sagging roof deck indicates significant water damage to the underlying structural wood. This is a severe issue that compromises your home’s structural integrity and requires immediate professional attention.
- Widespread Shingle Damage: If a large section of your shingles is missing, cracked, or deteriorated, it often means the roof is aging rapidly or has sustained significant storm damage. Patching individual shingles won’t address the underlying issue.
- Persistent Leaks After Patching: If you’ve tried temporary fixes and the leak keeps coming back, it’s clear the root cause hasn’t been addressed. This is a job for experts who can diagnose hidden issues.
- Leaks Near Electrical Fixtures: Water and electricity are a dangerous combination. Any leak near electrical wiring, light fixtures, or outlets should be handled by professionals to avoid fire hazards or electrocution.
- Unidentifiable Leak Source: If you’ve tried tracing the leak using our methods and still can’t pinpoint the source, a professional has specialized equipment and experience to find hidden entry points.
For these situations, calling a professional is not just a convenience; it’s a necessity for your safety and your home’s longevity.
Understanding the Cost of Professional Roof Leak Repair
Roof leak repair costs are driven by four main factors: roof material, extent of damage, roof complexity, and local permitting requirements. Professional roof leak repair typically costs between $360 and $1,550 on average in the United States, with localized storm or hail events pushing some projects higher when structural repairs are required. This investment often comes with a workmanship warranty and documented repair history, which can be valuable for insurance and resale.
Here’s a breakdown of factors affecting the cost:
- Roof Material: The type of roofing material significantly impacts repair costs. Asphalt shingles are the most affordable to repair, while slate and tile are the most expensive due to material cost and specialized labor.
- Extent of Damage: A small, isolated leak is much cheaper to fix than widespread damage. If water has penetrated the roof deck or caused structural rot, the cost will increase significantly as it involves more labor and materials.
- Roof Pitch/Slope: Steeper or more complex roofs require more safety equipment and time, increasing labor costs.
- Permits: Depending on the scope of the repair, a permit may be required, which adds to the overall cost.
How Roofing Materials Affect Repair Methods
Different roofing materials require specific repair techniques. For example, replacing a few asphalt shingles is a relatively straightforward process. However, repairing a metal roof might involve sealing seams or replacing an entire panel, while tile or slate roofs require careful handling to avoid breaking adjacent tiles. Understanding the nuances of each material is key to a lasting repair, which is why professional expertise is often invaluable. For technical standards on installation and repair best practices across materials, roofing professionals commonly reference the National Roofing Contractors Association.
Proactive Protection: Preventing Future Roof Leaks
Regular maintenance is the most effective way to prevent costly leaks and extend the life of your roof.
Annual Maintenance Checklist
- Schedule Professional Inspections: Have your roof inspected annually by a professional to catch potential issues early.
- Clean Gutters and Downspouts: Clogged gutters can cause water to back up under your shingles. Clean them in the spring and fall.
- Trim Overhanging Branches: Prevent damage from falling limbs by keeping trees near your home trimmed.
- Check Flashing and Sealants: Inspect the seals around chimneys, vents, and skylights for cracks or deterioration.
- Inspect Your Attic: After heavy rain, check your attic for signs of moisture or water stains.
For homeowners in coastal areas like Seaford, DE, checking for storm and wind damage is especially critical.
Don’t Let a Small Leak Become a Major Headache
Prompt action on a roof leak consistently saves homeowners money compared with waiting until visible damage spreads. A leaking roof is a serious issue that requires immediate attention to protect your home and investment. While temporary fixes can provide a crucial stopgap, a professional assessment ensures a long-lasting solution.
First State Roofing & Exteriors is a local, family-owned team that provides free estimates and documented inspection reports homeowners can reference for insurance claims or future maintenance planning. To schedule a free roof inspection and expert assessment, call (302) 222-4065 or contact us through our website to book a convenient appointment.